Logo


Logo
  • Products
    • Adapter Plates & Covers
    • Bolts, Latches & Guards
    • Door Reinforcers
    • Drawer, Cabinet & Mailbox Locks
    • Patio & Window Locks
    • Replacement Knobs & Rosettes
    • Strike Plates & Latch Guards
    • SecureShield
    • Terms & Conditions
  • Smart Deadbolt
    • Product Information
    • FAQ
  • Security Facts
  • Contact Us
  • Cart
  • My Account

Products

    Home    Products    Page 6
Product Categories
  • SecuRemote Garage Access System
  • All Categories
  • Adapter Plates & Covers
  • Bolts, Latches & Guards
  • Door Reinforcers
  • Drawer, Cabinet & Mailbox Locks
  • Patio & Window Locks
  • Replacement Knobs & Rosettes
  • SecureShield
  • Strike Plates & Latch Guards
Filter by price
Price: —
Compare Products
  • No products to compare
Clear all Compare
Default sorting
    Keyed Glass Mortise Lockset
    All Categories

    SKU: 1139

    Finish: Polished Brass

    Glass knobs and trim plates

    Case-hardened steel case

    Bolt reversible to left and right handed door

    Lock bolt is key activated both inside & outside

    Requires mortise cutout

    Replaces most bit key mortise locks with 2-1/4″ backset

    Instructions:
    1. Fold template (see insert included) along dotted line and wrap around inside edge of door at a convenient height. mark holes A and B through template.
    2. Position vertical line C in center of door thickness and mark holes as shown. Be sure the template does not move up or down.
    3. Remove template and drill seven 5/8″ diameter holes 3″ into edge of door where C holes were drawn. Chisel out remaining wood to form a pocket in the edge of the door measuring 5/8″ wide by 4-1/8″ long by 3″ deep.
    4. Drill one 3/4″ hole on mark A through the door. Drill four 5/16″ holes as indicated through the door to form slot B.
    5. Insert mortise lock into pocket, draw a line around the face plate, and remove lock. Chisel out the wood within the lines to a depth of approximately 3/32″. Insert lock occasionally to ensure proper depth.
    6. Insert lock into door and attach with two flathead screws.
    7. Position trim plates on door in line with lock and attach using eight oval-head screws.
    8. Insert spindle through hole A and attach knobs at each end of spindle.
    9. Position strike in line with latch and attach with two flathead screws.


    $63.99

    Add to cart
    Add to Compare
    Knob Set
    All Categories

    SKU: 1135

    Finish: Polished Brass

    Knob pair with spindle

    Use on various interior mortise locksets
    or latch sets

    Spindle size: 7mm


    $19.99

    Add to cart
    Add to Compare
    7mm Replacement Spindles – 2 Pack
    All Categories

    SKU: 1132

    Finish: Chrome

    2 per package

    Threaded steel replacement spindles for interior mortise type locks or latch sets

    Spindle size: 7mm

    Instructions:
    Remove old spindle and replace with new.


    $8.99

    Add to cart
    Add to Compare
    Knob Set
    All Categories

    SKU: 1130

    Finish: Polished Brass

    Material: Solid Brass

    Knob pair with spindle

    Use on various interior mortise locksets
    or latch sets

    Spindle size: 7mm


    $40.99

    Add to cart
    Add to Compare
    Keyed Knob Mortise Lockset
    All Categories

    SKU:1129

    Finish: Polished Brass

    Knobs and trim plates

    Case-hardened steel case

    Lock bolt is key activated both inside & outside

    Bolt reversible to left and right handed door

    Requires mortise cutout

    Replaces most bit key mortise locks with 2-1/4″ backset

    Instructions:
    1. Fold template (see insert included) along dotted line and wrap around inside edge of door at a convenient height. mark holes A and B through template.
    2. Position vertical line C in center of door thickness and mark holes as shown. Be sure the template does not move up or down.
    3. Remove template and drill seven 5/8″ diameter holes 3″ into edge of door where C holes were drawn. Chisel out remaining wood to form a pocket in the edge of the door measuring 5/8″ wide by 4-1/8″ long by 3″ deep.
    4. Drill one 3/4″ hole on mark A through the door. Drill four 5/16″ holes as indicated through the door to form slot B.
    5. Insert mortise lock into pocket, draw a line around the face plate, and remove lock. Chisel out the wood within the lines to a depth of approximately 3/32″. Insert lock occasionally to ensure proper depth.
    6. Insert lock into door and attach with two flathead screws.
    7. Position trim plates on door in line with lock and attach using eight oval-head screws.
    8. Insert spindle through hole A and attach knobs at each end of spindle.
    9. Position strike in line with latch and attach with two flathead screws.


    $81.99

    Add to cart
    Add to Compare
    Single Cylinder Interlocking Deadbolt
    All Categories

    SKU: 1120

    Finish: Polished Brass

    5-pin tumbler with hardened steel pins

    Single cylinder locking unit & strike

    Locks door to jamb to prevent forced entry

    1-1/4″ bore required

    Door Thickness: 1-3/8″ to 2-1/4″

    Key Blank: Weiser Blank WR2/WR3

    Instructions:
    CAUTION: Do not unscrew small retaining screws at rear of cylinder. Use only dry lubricant (graphite) on lock. Keep keyway clear of foreign objects.
    1. Select convenient height for lock and place template against edge of door.
    2. Mark hole positions. Bore 1-3/8″ hole for cylinder where indicated. Note: Bore through door until tip of drill barely emerges from other side. Remove drill bit and complete hole by drilling from opposite side to reduce splintering.
    3. Drill 3/32″ diameter holes 1/2″ deep for attachment screws.
    4. Insert cylinder and trim ring from outside of door. Attache backplate with two connecting bolts. Note: If bolts are too long, saw or break at groove, using caution to avoid marring the thread.
    5. Cut or break connecting bar so it projects 3/8″ to 1/2″ beyond the inside of the door.
    6. Plack lock on door so connecting bar enters “X” slot in back of lock. Secure with large mounting screws.
    7. Align strike carefully, using template as a guide. Draw outline of strike on door jamb trim and chisel wood away (mortise) so strike mates freely with locking bars.
    8. Mark mounting holes for strike, drill pilot holes, and secure strike to door jamb with screws provided.


    $51.99

    Add to cart
    Add to Compare
    Night Latch & Locking Cylinder
    All Categories

    SKU: 1105, 1105-SN

    Finishes: Polished Brass & Satin Nickel

    Latch hold-back (prevents locking yourself out)

    5-pin tumbler with hardened steel pins

    1-1/4″ bore required

    Spring latch for automatic locking

    Door Thickness: 1-3/8″ to 2-1/4″

    Key Blank: Weiser Blank WR2/WR3

    Instructions:
    1. At desired height bore the hole for the cylinder 1-1/4″ diameter, with center at a distance of 2-3/8″ from edge of door.
    2. Insert cylinder and ring from he outside of door and place back plate on inside of door. Connect back plate to cylinder with two connecting screws. Cut screws to proper length relative to door thickness.
    3. Cut off connecting bar so that it projects 3/8″ beyond inside of door.
    4. Plack lock on door so that connecting bar enters slot. Mark holes. Remove lock and drill 1/8″ pilot holes. Attache lock to door by inserting screws through lock into door.
    5. Place strike plate on door jamb. Mark holes. Remove strike plate and drill 1/8″ pilot holes.
    6. As needed, use chisel to cut door jamb so that strike is flush with door jamb.


    Proposition 65 Warning


    $55.99

    Select options
    Add to Compare
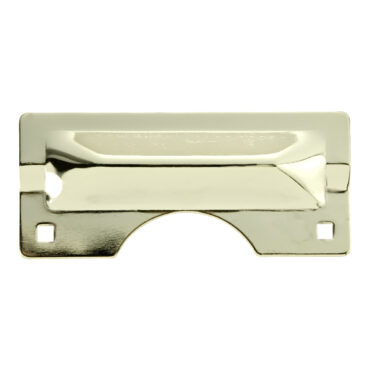
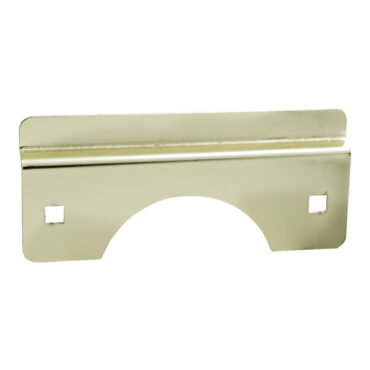
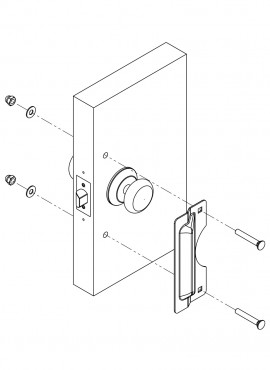
    Heavy Duty Latch Guard
    All Categories

    SKU: 1090

    Finish: Chrome

    Out-swinging doors only

    Secures against forced entry

    Protects latch or bolt

    Residential or commercial use

    Dimensions: 3″ x 7″

    Backset: Locksets with 2-3/4″ backset

    Instructions:
    1. Place latch guard on door and center on lock.
    2. Mark center of mounting holes.
    3. Drill two 3/8″ holes through door.
    4. Install bolts, washer and nuts. Tighten securely.

    Note: If latch guard contacts strike lip, bend in slightly with hammer.


    $26.99

    Add to cart
    Add to Compare
    Heavy Duty Latch Guard
    All Categories

    SKU: 1089, 1089-SSS

    Finishes: Polished  Brass 

    Out-swinging doors only

    Secures against forced entry

    Protects latch or bolt

    Residential or commercial use

    Dimensions: 3″ x 7″

    Backset: Locksets with 2-3/4″ backset

    Instructions:
    1. Place latch guard on door and center on lock.
    2. Mark center of mounting holes.
    3. Drill two 3/8″ holes through door.
    4. Install bolts, washers and nuts. Tighten securely.


    $26.99

    Select options
    Add to Compare
    Latch Guard
    All Categories

    SKU: 1085, 1085-SSS

    Finishes: Polished  Brass & Solid Stainless Steel

    Out-swinging doors only

    Secures against forced entry

    Protects latch or bolt

    Dimensions: 2-1/2″ x 6″

    Backset: Locksets with 2-3/8″ backset

    Instructions:
    1. Place latch guard on door, center on lock.
    2. Mark center of mounting holes.
    3. Drill two 3/8″ holes through door.
    4. Install bolts, washer, and nuts. Tighten securely.

    Note: If latch guard contacts strike lip, bend in slightly with hammer.


    $22.99

    Select options
    Add to Compare
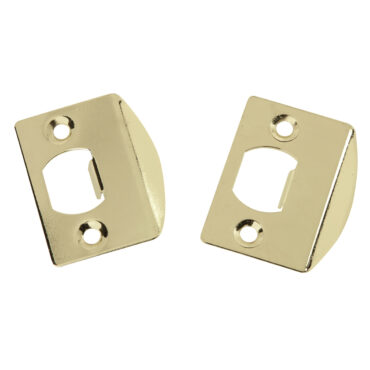
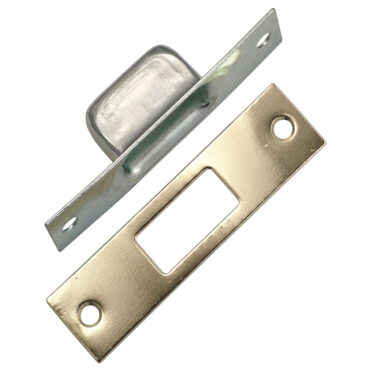
    Full Lip Strikes – 2 Pack
    All Categories

    SKU: 1063, 1064, 1065, 1065-SN, 1066

    Finishes: Vintage Bronze, Antique Brass, Polished Brass, Satin Nickel & Chrome

    Fits Standard size doors

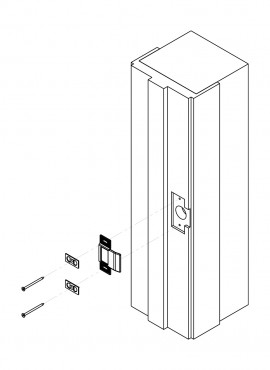
    Steel strike plate with adjustable tab

    Replaces most residential exterior & interior strikes

    Dimensions: 1-3/8″ x 2-1/4″

    Door Thickness: All

    Instructions:
    1. Remove old strike.
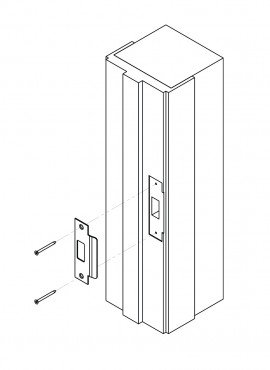
    2. Place new strike on door jamb, centered with latch hole.
    3. Install screws provided and adjust tab with screw driver for proper fit.


    $9.99

    Select options
    Add to Compare
    Adjustable Strike
    All Categories

    SKU: 1045

    Finish: Polished  Brass

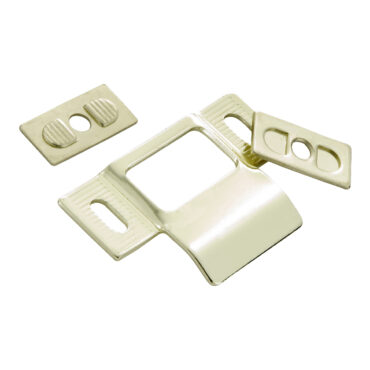
    1/4″ adjustment for tight fit of door to frame

    Stops door rattle

    Assures engagement of dead latch function

    Residential or commercial frames

    Dimensions: 1-1/4″ x 2-3/4″

    Door Thickness: All

    Instructions:
    Before starting first check door thickness for proper template alignment and then follow installation instructions.
    -If door thickness is 1-3/4″ place template frame 3/16″ from door jamb.
    -If door thickness is 1-3/8″ place template on the door jamb.

    Installation Instructions:
    1. Remove old strike.
    2. Center template with latch hole and tape in place.
    3. Position new strike in place and mark two holes. Chisel out area behind strike if needed or a flush fit is desired.
    4. Drill 1/8″ pilot holes 2″ deep. Adjust to fit door.


    $9.99

    Add to cart
    Add to Compare
    T-Strike
    All Categories

    SKU: 1041, 1041-SN

    Finish: Polished Brass, Solid Stainless Steel, Vintage Bronze, Chrome & Satin Nickel

    Fits standard size doors

    Use on wood or metal jambs

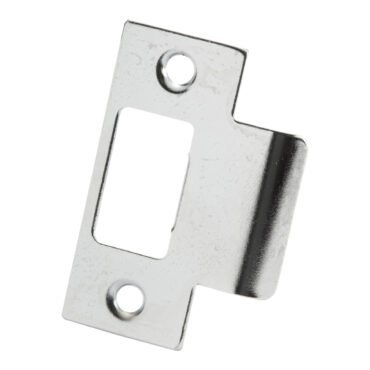
    Common replacement for most Grade 2 & 3 locksets

    Dimensions: 1-1/8″ x 2-3/4″

    Door Thickness: All

    Instructions:
    1. Remove old strike.
    2. Place new strike on door jamb centered with latch hole.
    3. Install screws provided and adjust tab with screw driver for proper fit.


    $9.99

    Select options
    Add to Compare
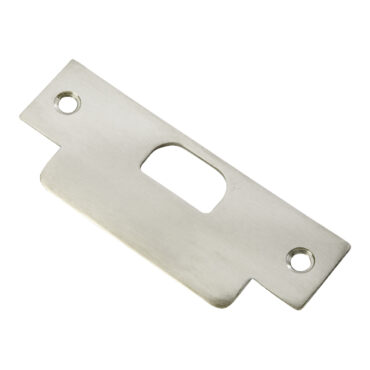
    STD A.S.A. Commercial Strike
    All Categories

    SKU: 1038

    Finish: Stainless Steel

    Use on wood or metal jambs

    Works with most commercial Grade 1 lock sets

    Dimensions: 1-1/4″ x 4-7/8″

    Door Thickness: All

    Instructions:
    1. Remove old strike
    2. Place strike on jamb, centered over latch hole.
    3. Mark outline of strike on door jamb.
    4. Using chisel, cut out area for strike 1/16″ deep.
    5. Install screws.


    Proposition 65 Warning


    $21.99

    Add to cart
    Add to Compare
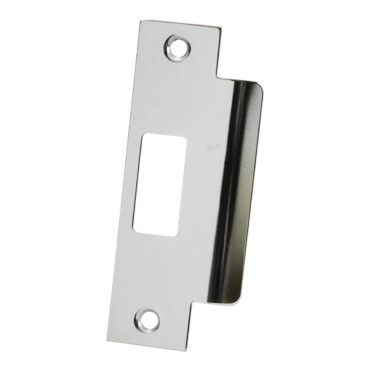
    Large Lip Strike
    All Categories

    SKU: 1035, 1036

    Finish: Polished Brass & Chrome

    Fits standard size doors

    Use on wood or metal jambs

    Dimensions: 4-7/8″ long, 3-3/8″ lip

    Door Thickness: All

    Instructions:
    1. Place strike on jamb, centered over latch hole.
    2. Mark outline of strike on door jamb.
    3. Using chisel, cut out area for strike 1/16″ deep.
    4. Install screws.


    $9.99

    Select options
    Add to Compare
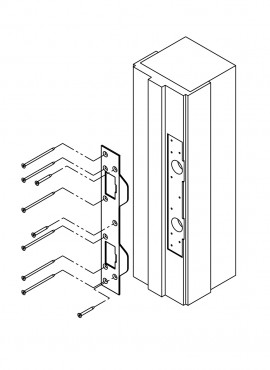
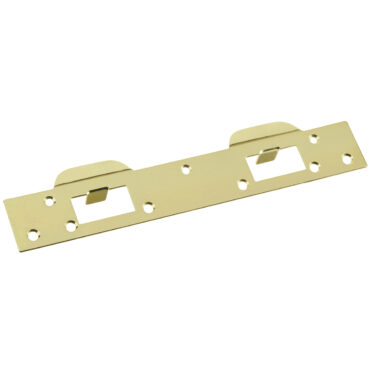
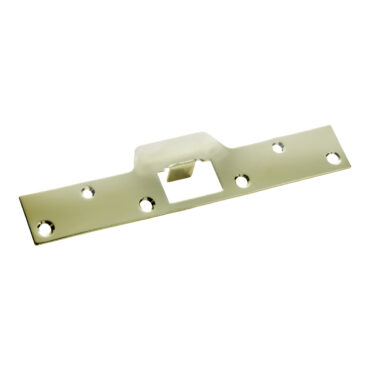
    Dual Security Strike
    All Categories

    SKU: 1027

    Finish: Polished Brass

    For locks with 5-1/2″ to 6″ centers

    Replaces standard latch & deadbolt
    strikes with one piece security

    Strengthens or repairs wood jambs

    3″ screws attach to  wall stud for extra security

    Dimensions: 1-5/8″ x 11″

    Door Thickness: 1-3/4″ or thicker doors

    Instructions:
    1. Remove old strike
    2. Position new strike in place and mark with a pencil the three mounting holes on the side of the strike away from the door jamb. Chisel out area behind strike if needed or a flush fit is desired.
    3. Drill 1/8″ pilot holes 1″ deep. Install short screws.
    4. Close door and operate lock. If lock operates correctly, drill remaining two pilot holes with a 1/8″ drill bit 2″ deep. Install long screws. If lock does not operate correctly, reposition strike plate and retest.

    Note: Check distance between door and frame when door is closed.
    – If the gap is 1/4″ or more install strike on surface of frame.
    – If the gap is less than a 1/4″ strike must be chiseled into the frame.


    $22.99

    Add to cart
    Add to Compare
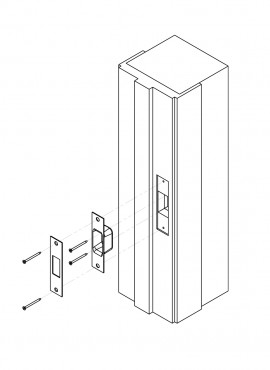
    Security Latch Strike
    All Categories

    SKU: 1025, 1025-SSS, 1025-VB

    Finishes: Polished  Brass, Solid Stainless Steel & Vintage Bronze

    Fits standard size doors

    Strengthens or repairs wood jambs

    3″ screws attach to wall stud for extra security

    Dimensions: 1-1/4″ x 8″

    Door Thickness: All

    Instructions:
    1. Remove old strike.
    2. Position new strike in place and mark the two mounting holes on the side of the strike away from the door jamb. Chisel out area behind strike if needed or if a flush fit is desired.
    3. Drill 1/8″ pilot holes 1″ deep. Install small screws.
    4. Close door and operate lock. If lock operates correctly, drill remaining two pilot holes with a 1/8″ drill bit 2″ deep. Install long screws. If lock does not operate correctly, reposition strike place and retest.


    $17.99

    Select options
    Add to Compare
    • ←
    • 1
    • 2
    • 3
    • 4
    • 5
    • 6
    • 7
    • →


    About Us

    First Watch Security, a division of Belwith Products, LLC. has been designing, manufacturing, and delivering home security products since 1959.

    Today, First Watch Security is one of the most recognized brands in the market, producing products for home and commercial use.

    Contact Us
    • +1.800.235.9484
    • 3100 Broadway Ave. SW Grandville, MI 49418
    Connect With Us
    • Facebook
    • Twitter
    • Linkedin
    Proposition 65 Warning

    First Watch Security is an operating division of Belwith Products, LLC. | © 2015 Belwith Products, LLC. | All rights reserved.