
$51.99
SKU: 1120
Finish: Polished Brass
5-pin tumbler with hardened steel pins
Single cylinder locking unit & strike
Locks door to jamb to prevent forced entry
1-1/4″ bore required
Door Thickness: 1-3/8″ to 2-1/4″
Key Blank: Weiser Blank WR2/WR3
Instructions:
CAUTION: Do not unscrew small retaining screws at rear of cylinder. Use only dry lubricant (graphite) on lock. Keep keyway clear of foreign objects.
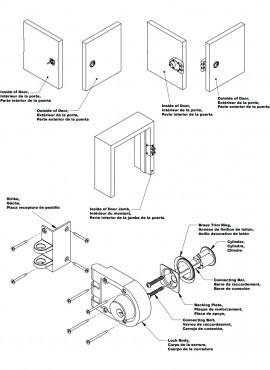
1. Select convenient height for lock and place template against edge of door.
2. Mark hole positions. Bore 1-3/8″ hole for cylinder where indicated. Note: Bore through door until tip of drill barely emerges from other side. Remove drill bit and complete hole by drilling from opposite side to reduce splintering.
3. Drill 3/32″ diameter holes 1/2″ deep for attachment screws.
4. Insert cylinder and trim ring from outside of door. Attache backplate with two connecting bolts. Note: If bolts are too long, saw or break at groove, using caution to avoid marring the thread.
5. Cut or break connecting bar so it projects 3/8″ to 1/2″ beyond the inside of the door.
6. Plack lock on door so connecting bar enters “X” slot in back of lock. Secure with large mounting screws.
7. Align strike carefully, using template as a guide. Draw outline of strike on door jamb trim and chisel wood away (mortise) so strike mates freely with locking bars.
8. Mark mounting holes for strike, drill pilot holes, and secure strike to door jamb with screws provided.
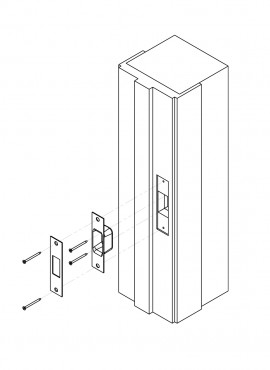
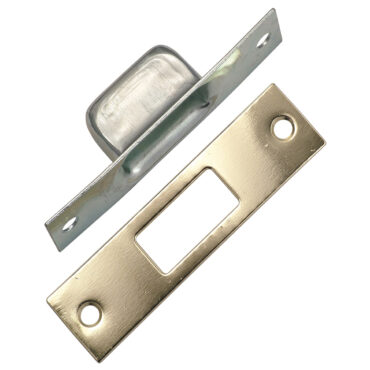
SKU: 1005
Finish: Polished Brass
Fits standard size doors
Mortising required
Screws at base of box strike secure to
2″ x 4″ framing for added security
Dimensions: 1-1/4″ x 4-7/8″
Door Thickness: All
Instructions:
1. Mark center of bolt on frame.
2. Cut out template (see insert), locate center mark on template with center mark on frame. Tape in place.
3. Draw around outside of template. Mark 4 holes through template. Drill 1″ holes per template.
4. Chisel out between 1″ holes and fit strike box.
5. Chisel out 1/8″ deep for strike.
6. Install strike and faceplate with top and bottom screws. (Be sure 2 holes in strike box are toward center of frame.)
7. Drill two 1/8″ pilot holes at bottom of strike box toward center of frame and install screws at an angle.
$12.99
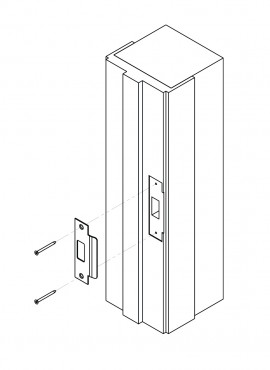
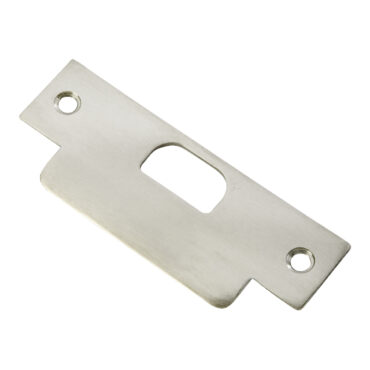
SKU: 1038
Finish: Stainless Steel
Use on wood or metal jambs
Works with most commercial Grade 1 lock sets
Dimensions: 1-1/4″ x 4-7/8″
Door Thickness: All
Instructions:
1. Remove old strike
2. Place strike on jamb, centered over latch hole.
3. Mark outline of strike on door jamb.
4. Using chisel, cut out area for strike 1/16″ deep.
5. Install screws.
$21.99
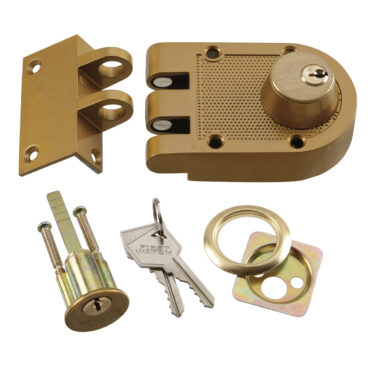
SKU: 1125
Finish: Brass Tone
5-pin tumbler with hardened steel pins
Dual single or double cylinder locking unit & strike
Locks door to jamb to prevent forced
entry
Door Thickness: 1-3/8″ to 2-1/4″
1-1/4″ bore required
Key Blank: Weiser Blank WR2/WR3
Instructions:
CAUTIONS: Do not unscrew small retaining screws at rear of cylinder. Use only dry lubricant (graphite) on locks. Keep away clear of foreign objects.
To Install:
1. Select convenient height for lock and place template against edge of door.
2. Mark hole positions. Bore 1-3/8″ hole for cylinder where indicated. Note: Bore through door until tip of drill barely emerges from other side. Remove drill bit and complete hole by drilling from opposite side to reduce splintering.
3. Drill 3/32″ diameter holes 1/2″ deep from attachment screws.
4. Insert cylinder and trim ring from outside of door. Attach backplate with two connecting bolts. Note: If bolts are too long, saw or break at groove, using caution to avoid marring the thread.
5. Cut or break connecting bar so it projects 3/8″ to 1/2″ beyond the inside of the door.
6. Plack lock on door so connecting bar enters “X” slot in back of lock. Secure with large mounting screws.
7. Align strike carefully, using template as a guide. Draw outline of strike on door jamb trim and chisel wood away (mortise) so strike mates freely with locking bars.
8. Mark mounting homes for strike, dill pilot holes, and secure strike to door jamb with screws provided.
$46.99
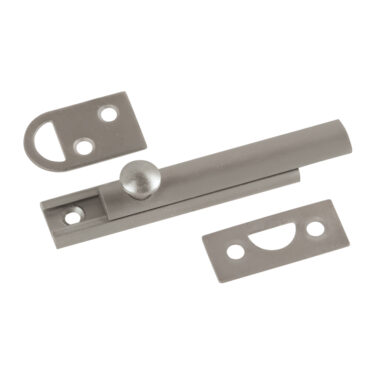
SKU: 1849, 1849-SN
Finishes: Polished Brass & Satin Nickel
For flush or recessed doors
Bolts surface mounts to face of door
2 keepers allow for surface or mortise frame installation
Instructions:
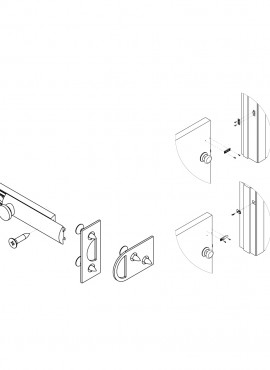
1. Position bolt at desired point on door and mark location of screws.
2. Close door and extend bolt. Mark position of bolt on door frame.
3. Use bolt mark on door frame fro strike placement. Two types of strikes are provided; use appropriate strike for door type, recessed or flush. Mark screw holes and fasten strike in place with screws.
$19.99
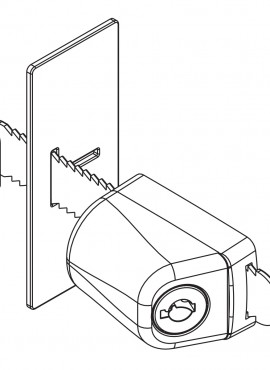
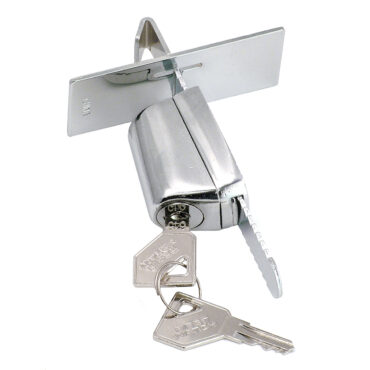
SKU:1846
Finish: Chrome
Ideal for hotel/motel doors & drawers
Provides extra security to almost any
door
Locks & unlocks from inside with key
Uses door strike opening for mount point
Hook to catch strike plate on door or lip of cabinet
Instructions:
1. Using key, unlock travel lock and slide out locking bar.
2. Open door or drawer and hook locking bar into strike plate or onto inside lip of cabinet.
3. Close door or drawer and slide locking plate onto bar either horizontally or vertically as desired.
4. Slide lock onto locking bar tight against locking plate. Use key to lock and unlock.
$27.99


